Wirelessly Connect to the Projector
1. Ensure the projector is turned on and that the laptop is connected to Time - Wifi. Ensure the input source is set to Wireless/USB.
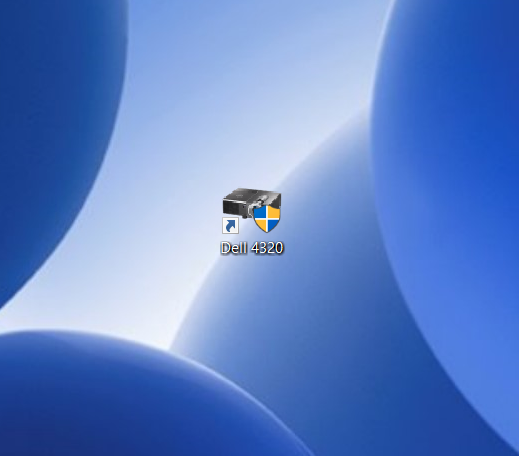
2. Double click the Dell 4320 icon.
If you do not have this icon, the projector software will need to be installed. Contact IT for installation, or connect via HDMI. (See Below)
3. Enter your credentials to log into your computer.
Your username is (typically) first name and last initial.
4. On the Connect to an Access Point screen:
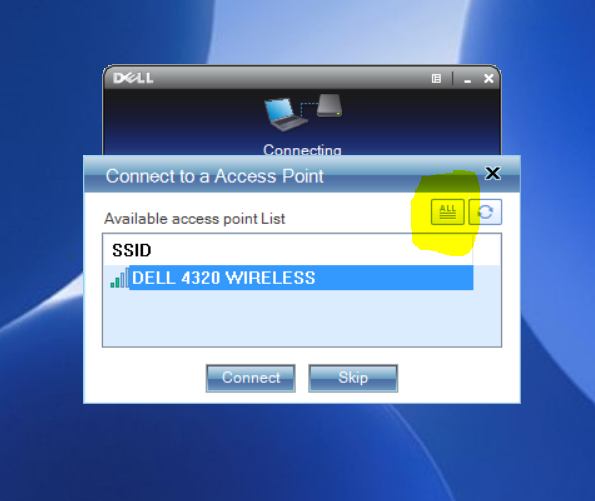
Click the All button in the upper right corner.
Select: Time - Wifi
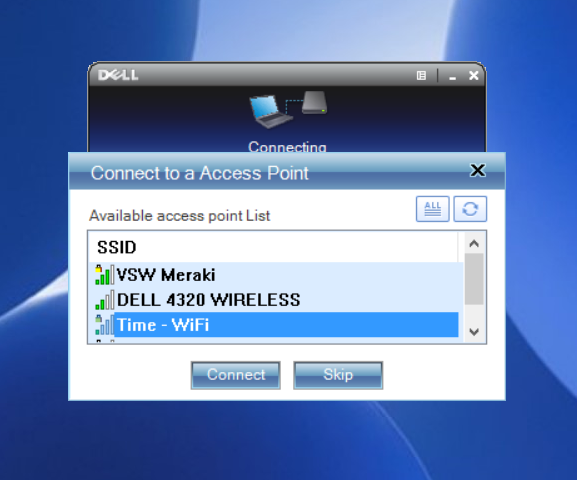
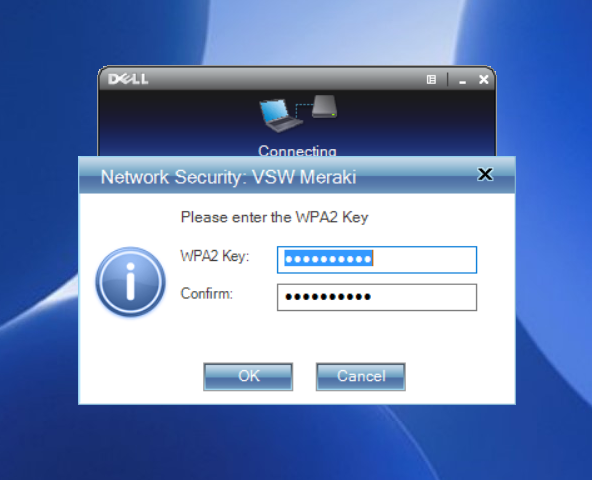
Click Connect, if it prompts for a password, click OK.
5. Current Server:
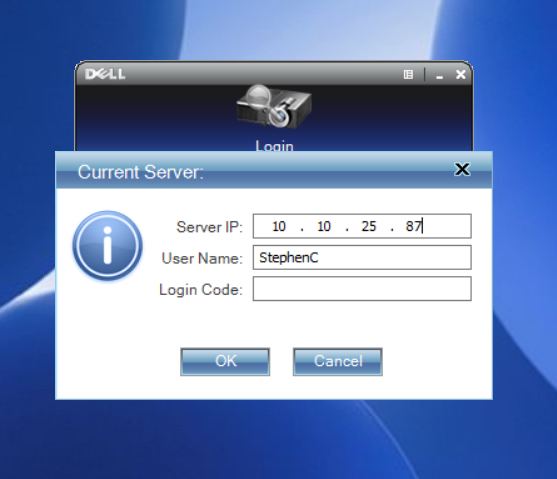
Enter the IP address, your username, & login code
Downstairs IP: 10.10.25.88
Upstairs IP: 10.10.25.87
VSW Service: 10.10.25.86
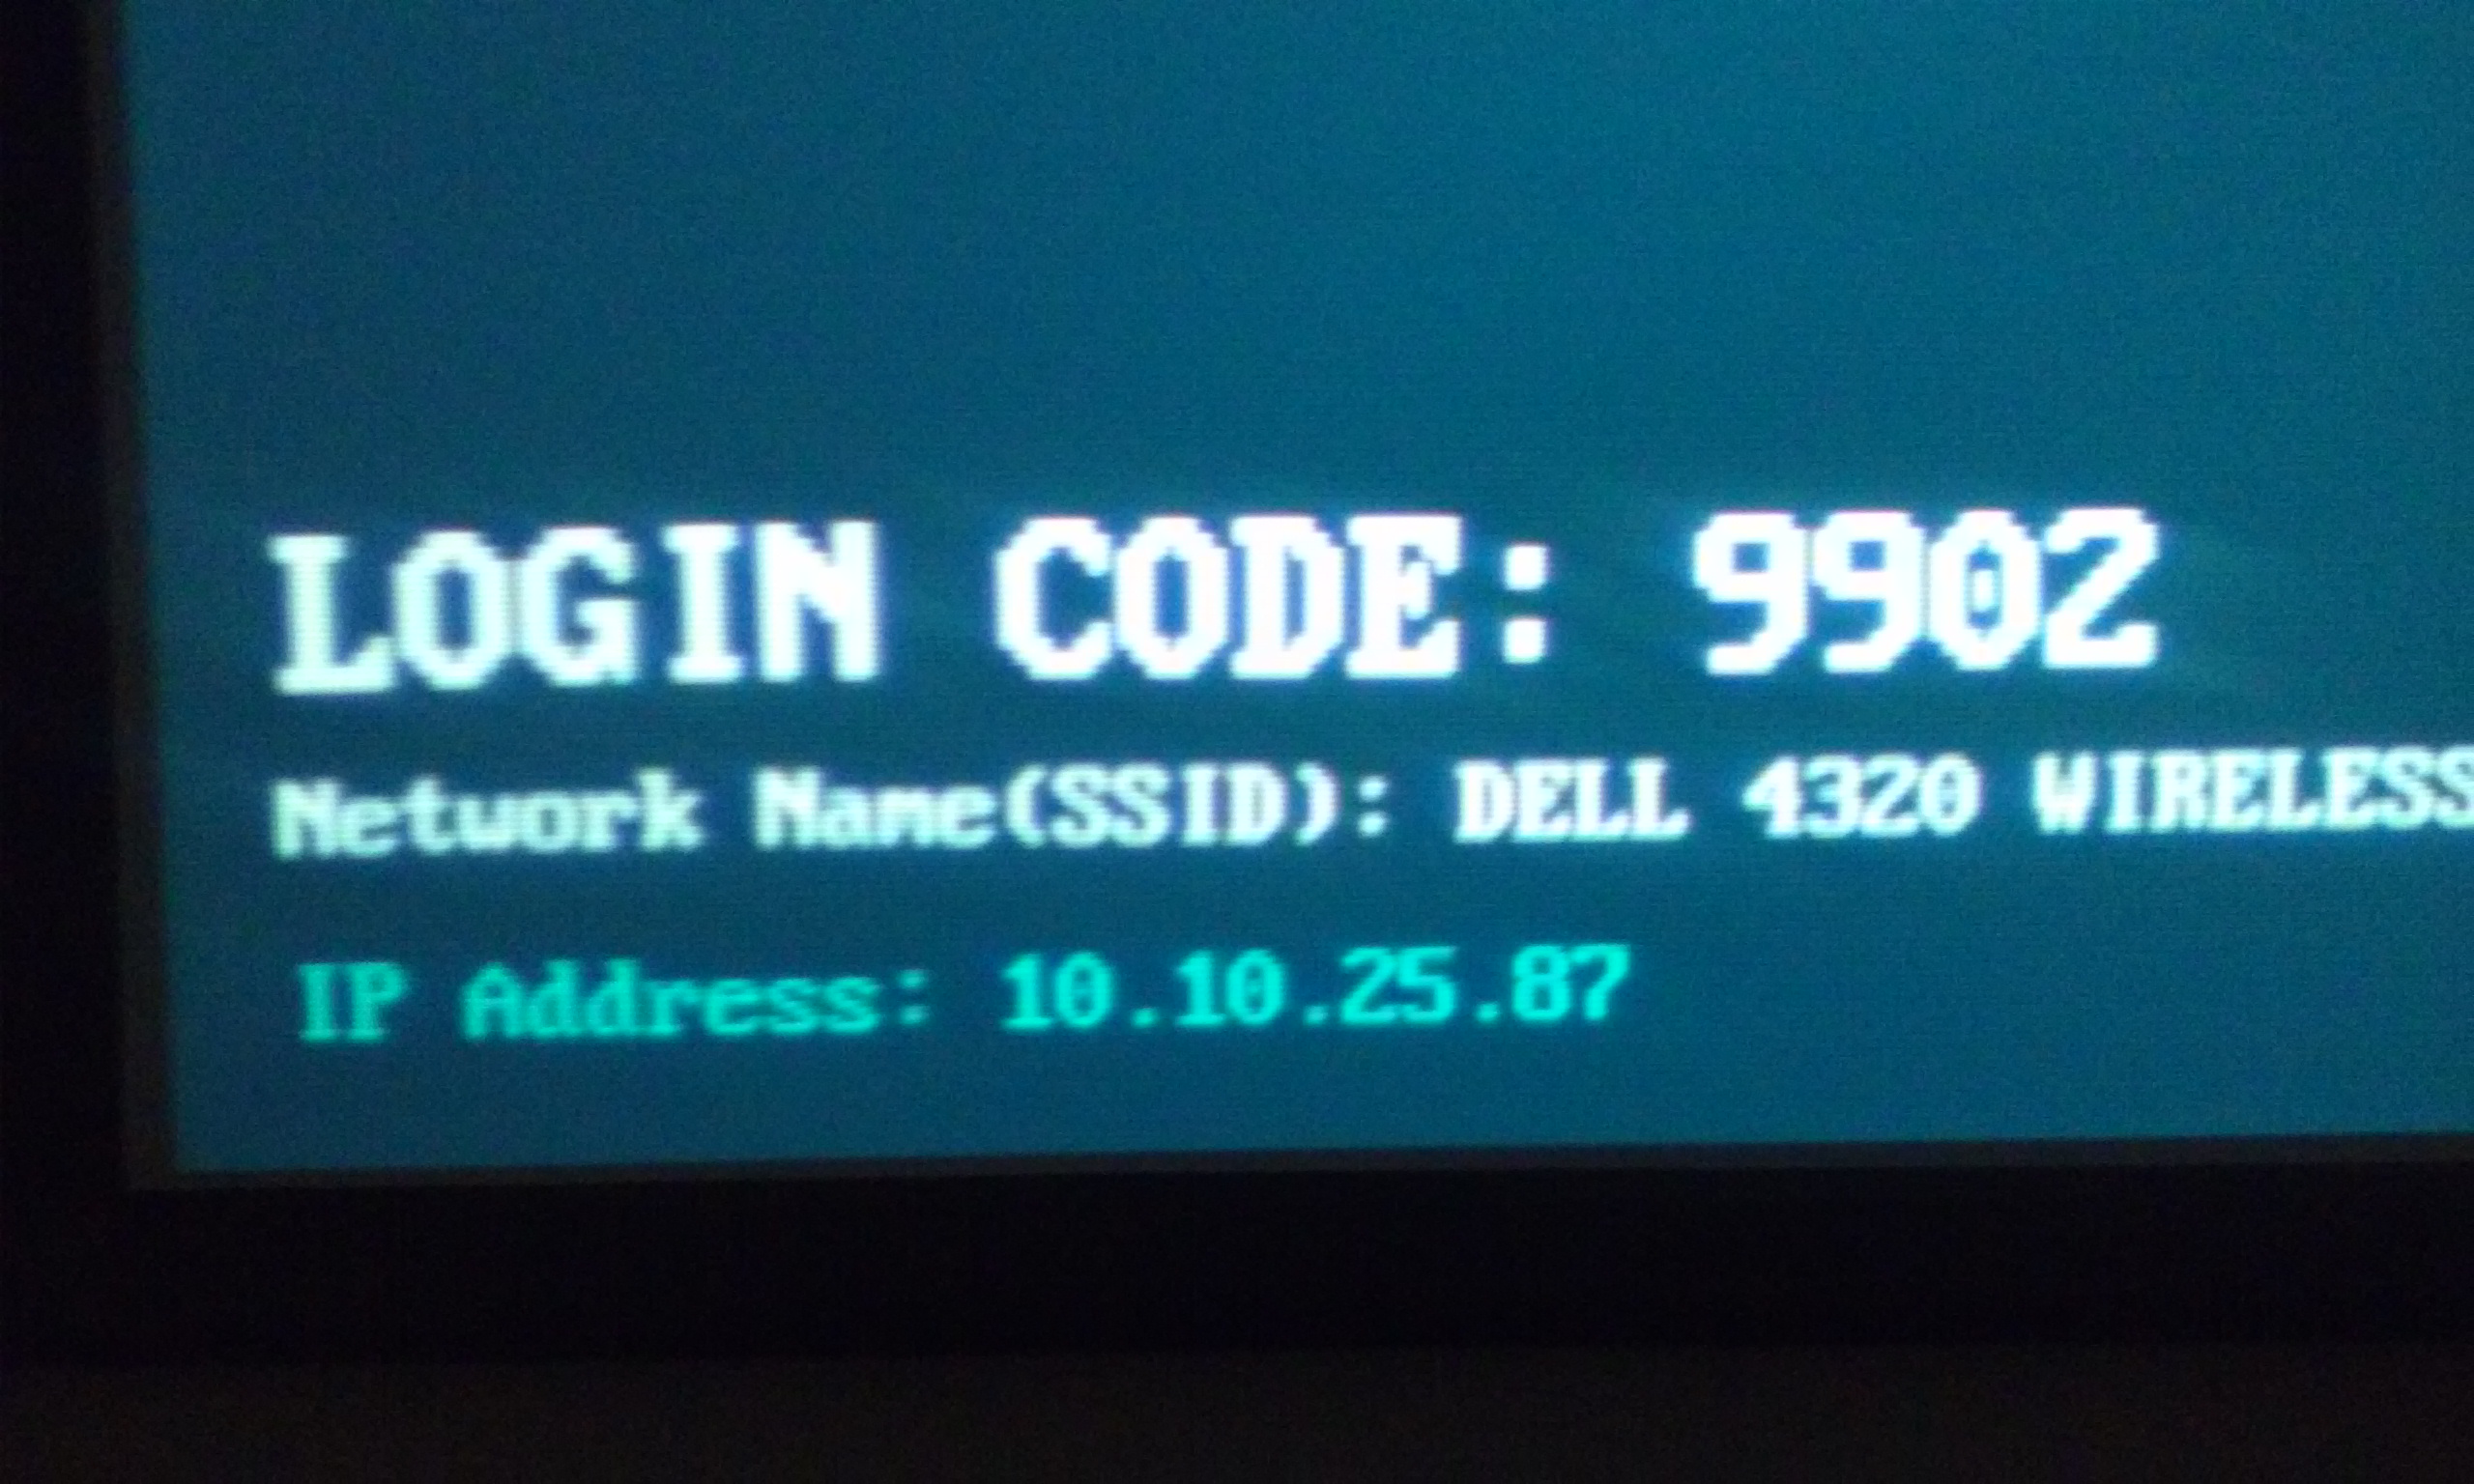
6. The login code will be located at the bottom left corner of the projector screen as shown. This four digit code will change after every login.
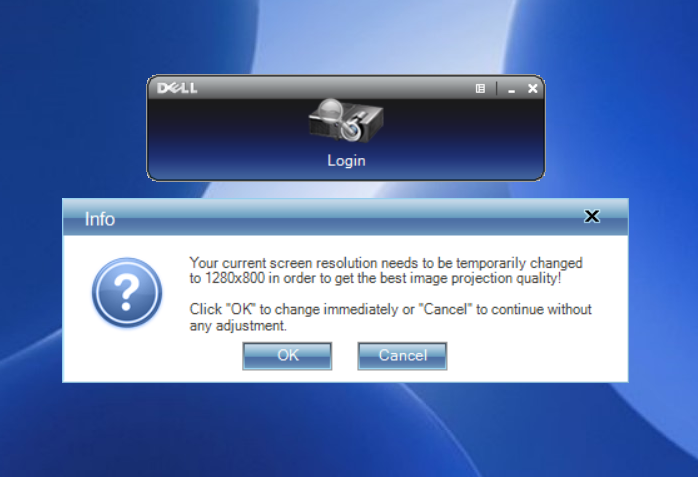
7. A pop up to adjust your screen resolution will appear. Click OK.
8. On the control menu:
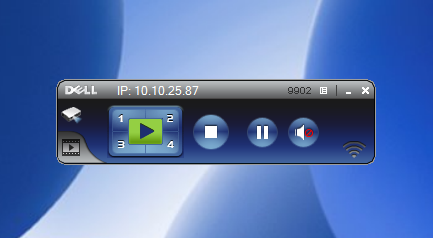
Click the play button to display your screen
Click the stop button to hide your screen.
Click the X button to terminate your session.
Click the speaker button to mute/unmute ceiling speakers.
*Mute laptop speakers if using ceiling speakers.
Note: While in use, the control menu can be minimized but not closed.
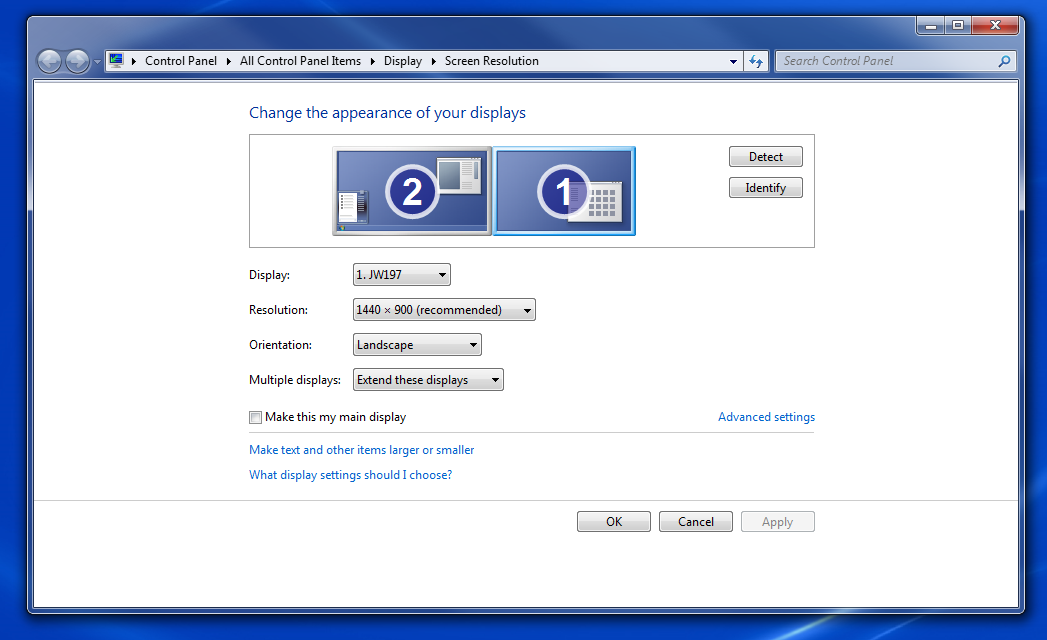
9. After ending your session, your screen resolution may need to be changed back if it doesn’t do so on its own. Right-click the laptop desktop, click either Screen Resolution or Display Settings, select Advanced Display Settings, Click the Resolution drop down box and select the recommended (or highest) resolution, click Apply, then yes to keep the settings.
Connect to the projector via HDMI
The HDMI cable is located in the floor at the center of both the upstairs conference table and VSW Service room, and towards the back on the left wall in the downstairs conference room.
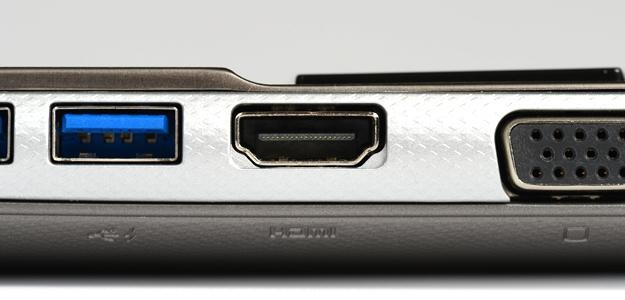
Below is a picture of what the HDMI port will look like on your laptop or other piece of equipment.
It is usually located on the left side. (Not all laptops are equipped with an HDMI port.)
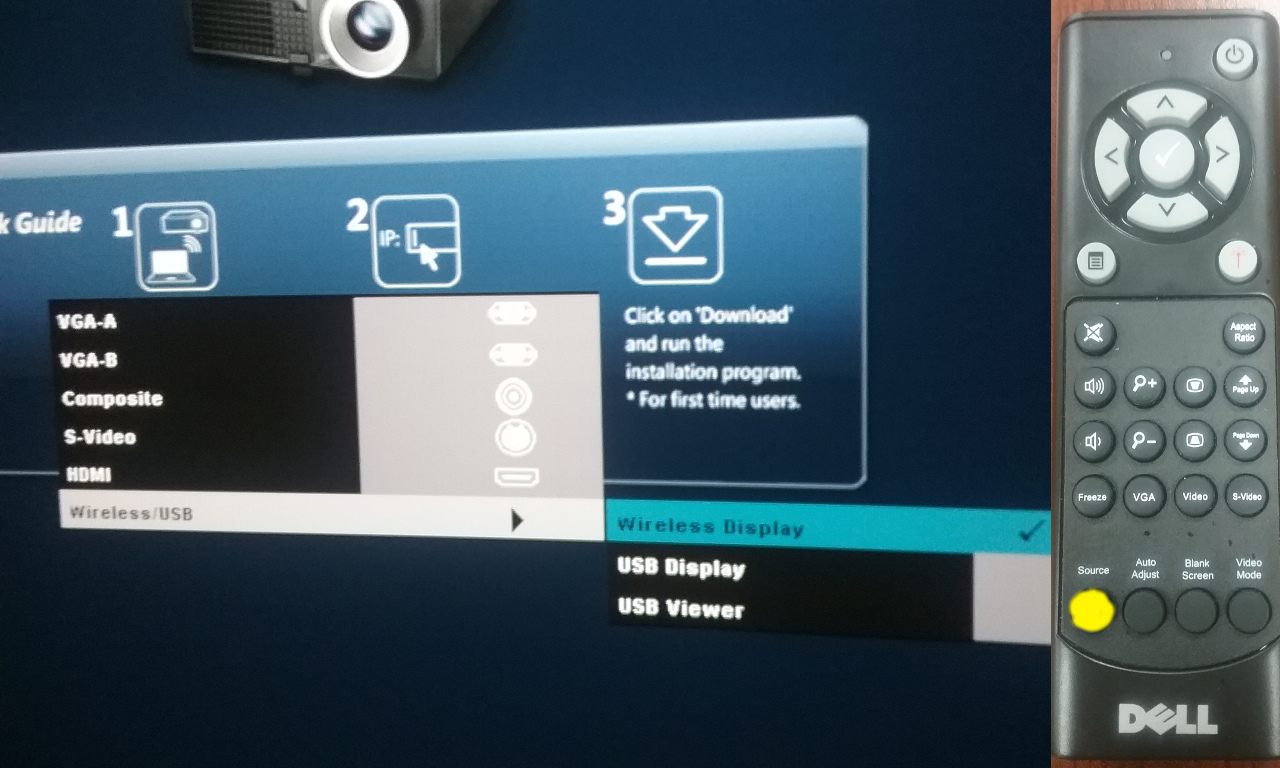
Plug the cable into your laptop and then use the remote to change the source on the projector from Wireless to HDMI by pressing the Source button and then pressing up and selecting HDMI.
*Required: In order to avoid any projection issues, your screen resolution will need to be set to 1280x800. To do this, right-click on your desktop and select either Screen Resolution or Display Settings, select Advanced Display Settings, Click the Resolution drop down box and select 1280x800 then click Apply and OK.
Before turning off the projector, click Source and change it back to wireless, hitting the enter button twice.