Downloading and installing the Microsoft Windows App client on your computer
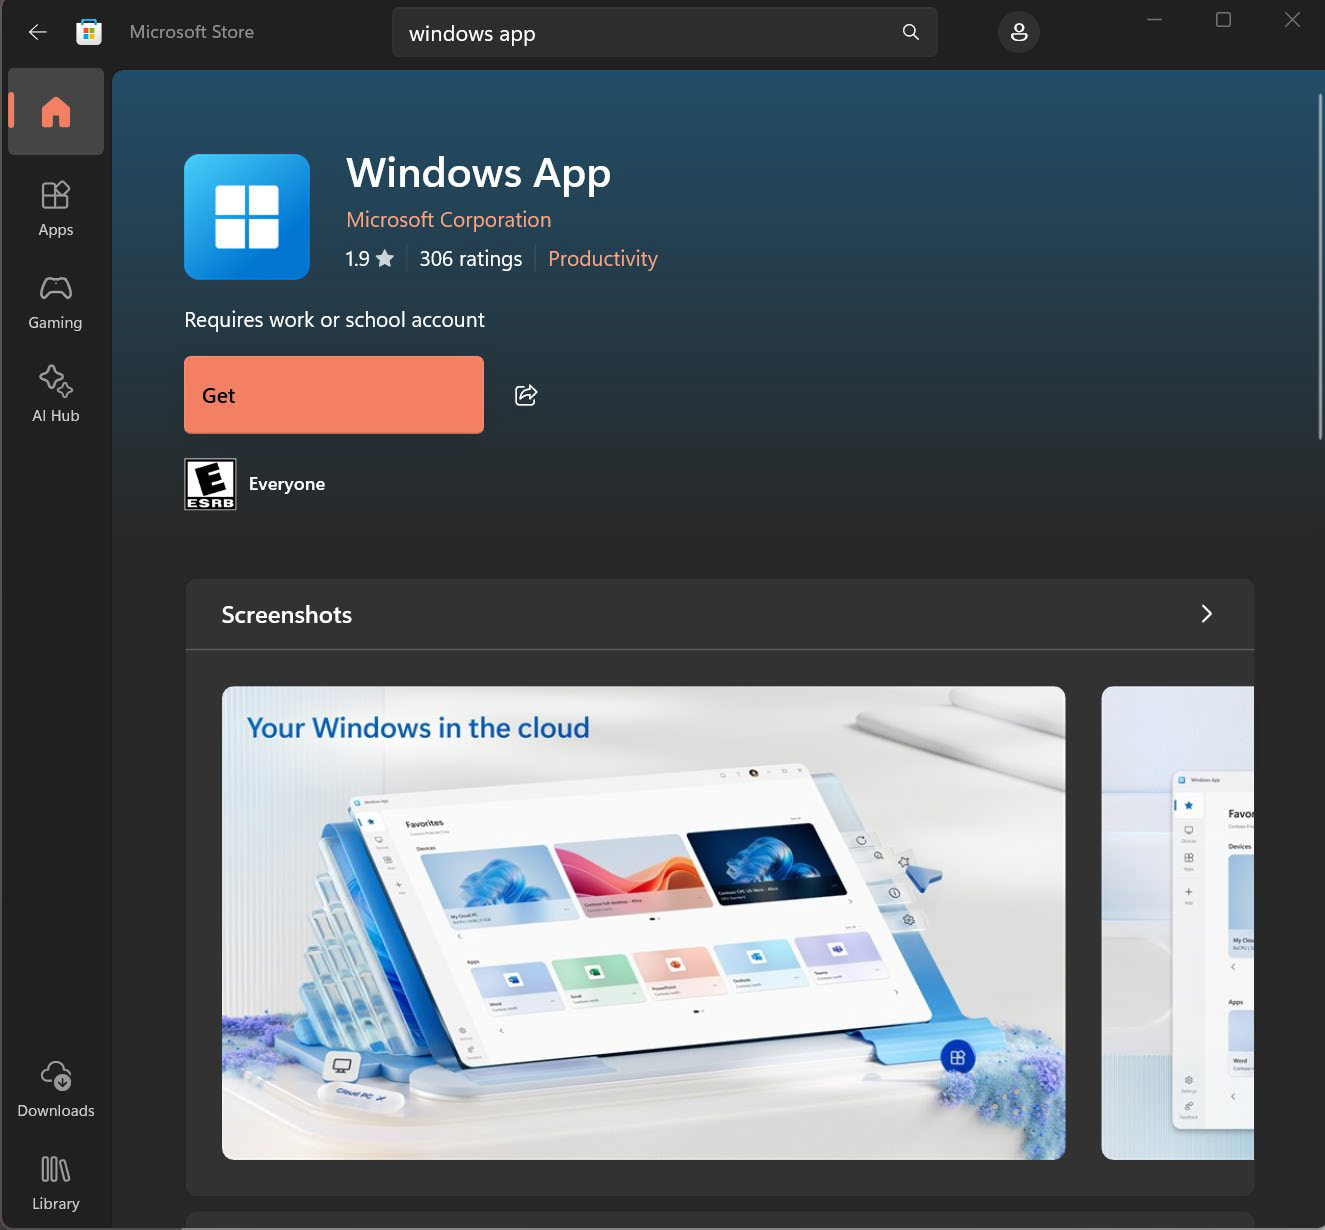
1. Search for the Microsoft Store on your computer and select to open > Search for the “Windows App” application as shown below > Select the “Get” bar to start the download/Install process.
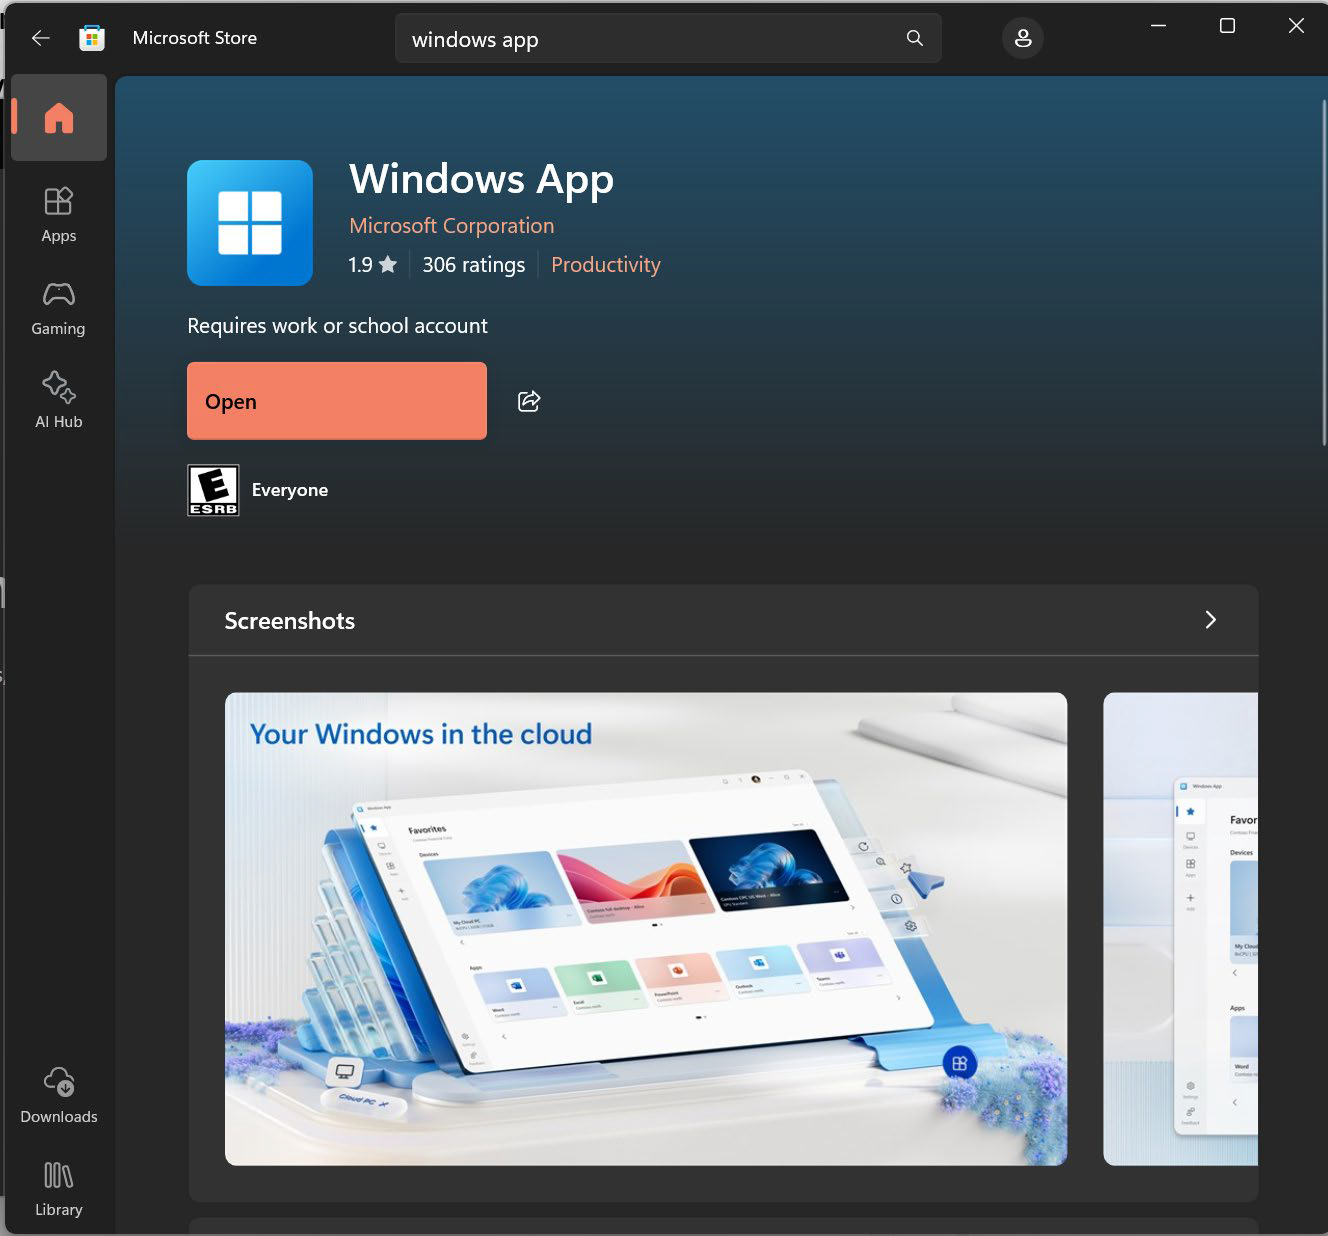
2. Once the Application is finished downloading > Select the Open bar to open the application or search for the application on your computer by typing Windows App.
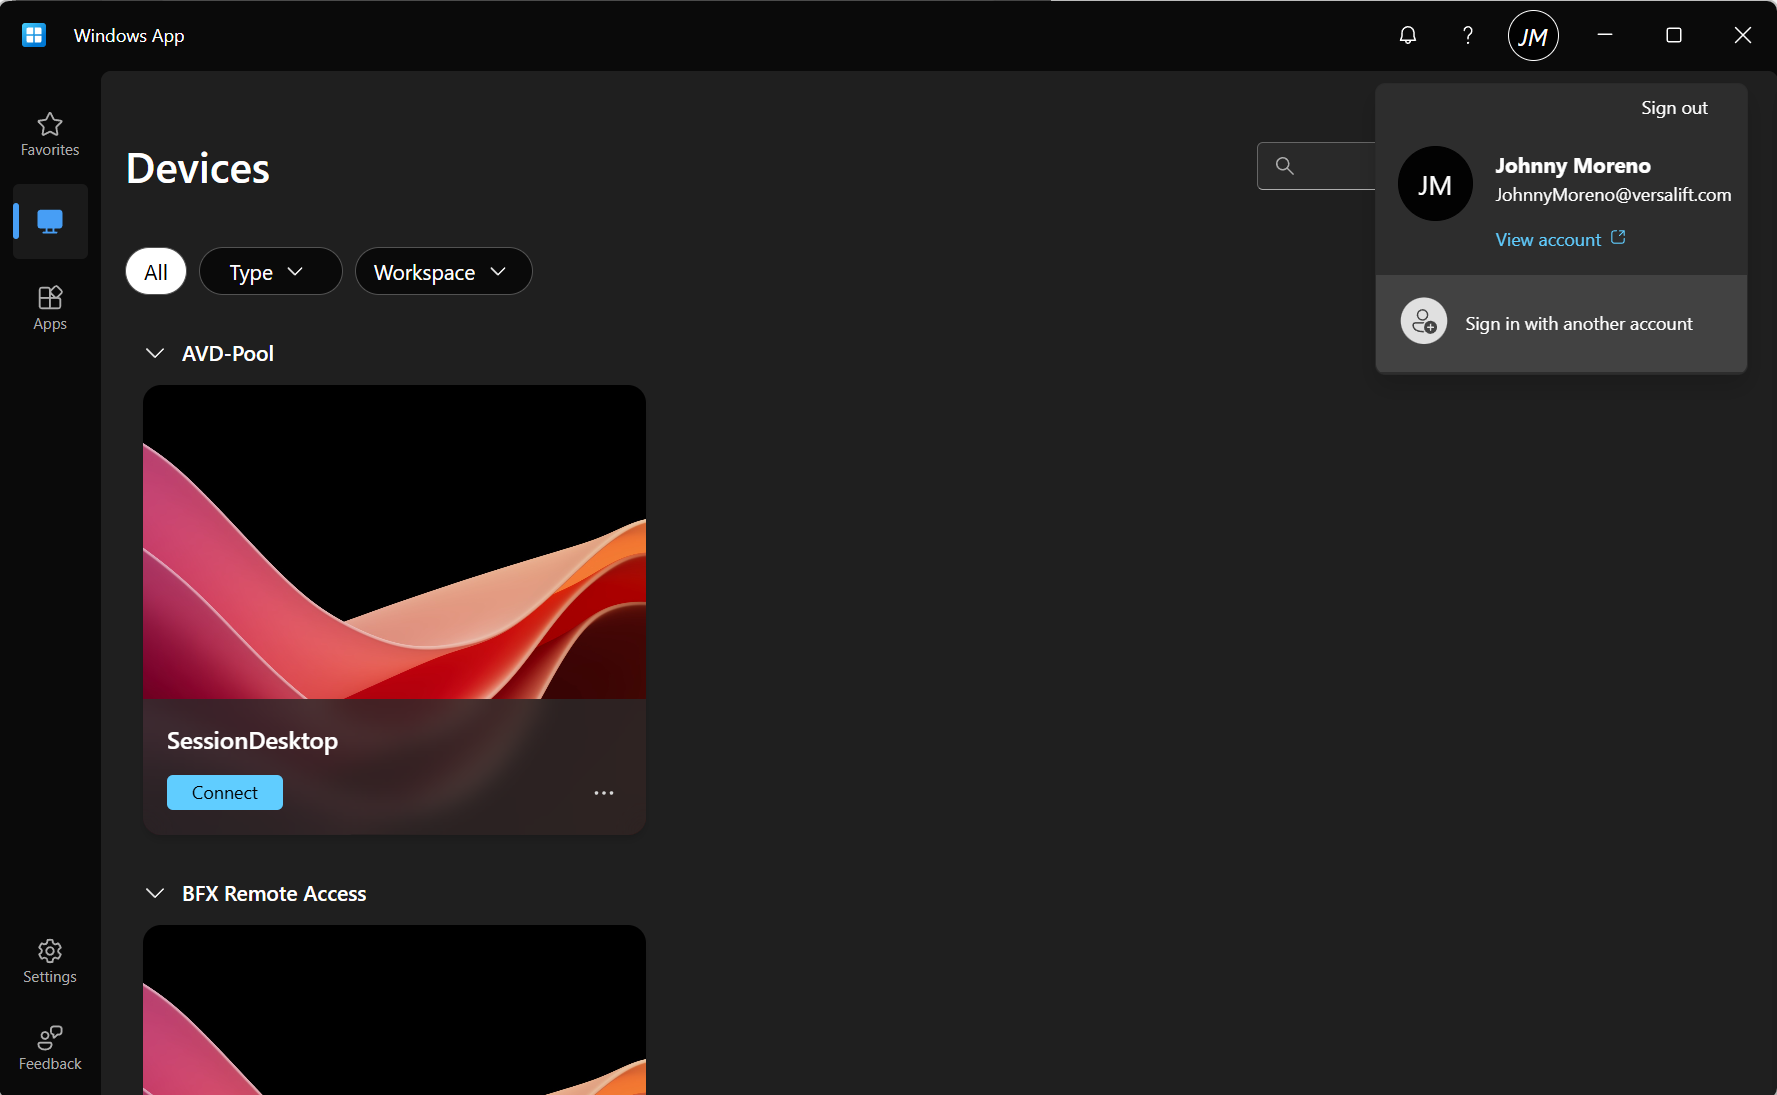
3. Once the Application is opened, you’ll notice that the Windows App installed is automatically logged in using your computers Windows account. Depending on account type, you’ll need to make sure you are using the account created for the Azure Virtual Desktop Environment. You can select sign out and then sign in using the account provided by the Administrator through an Encrypted email for this specific service.
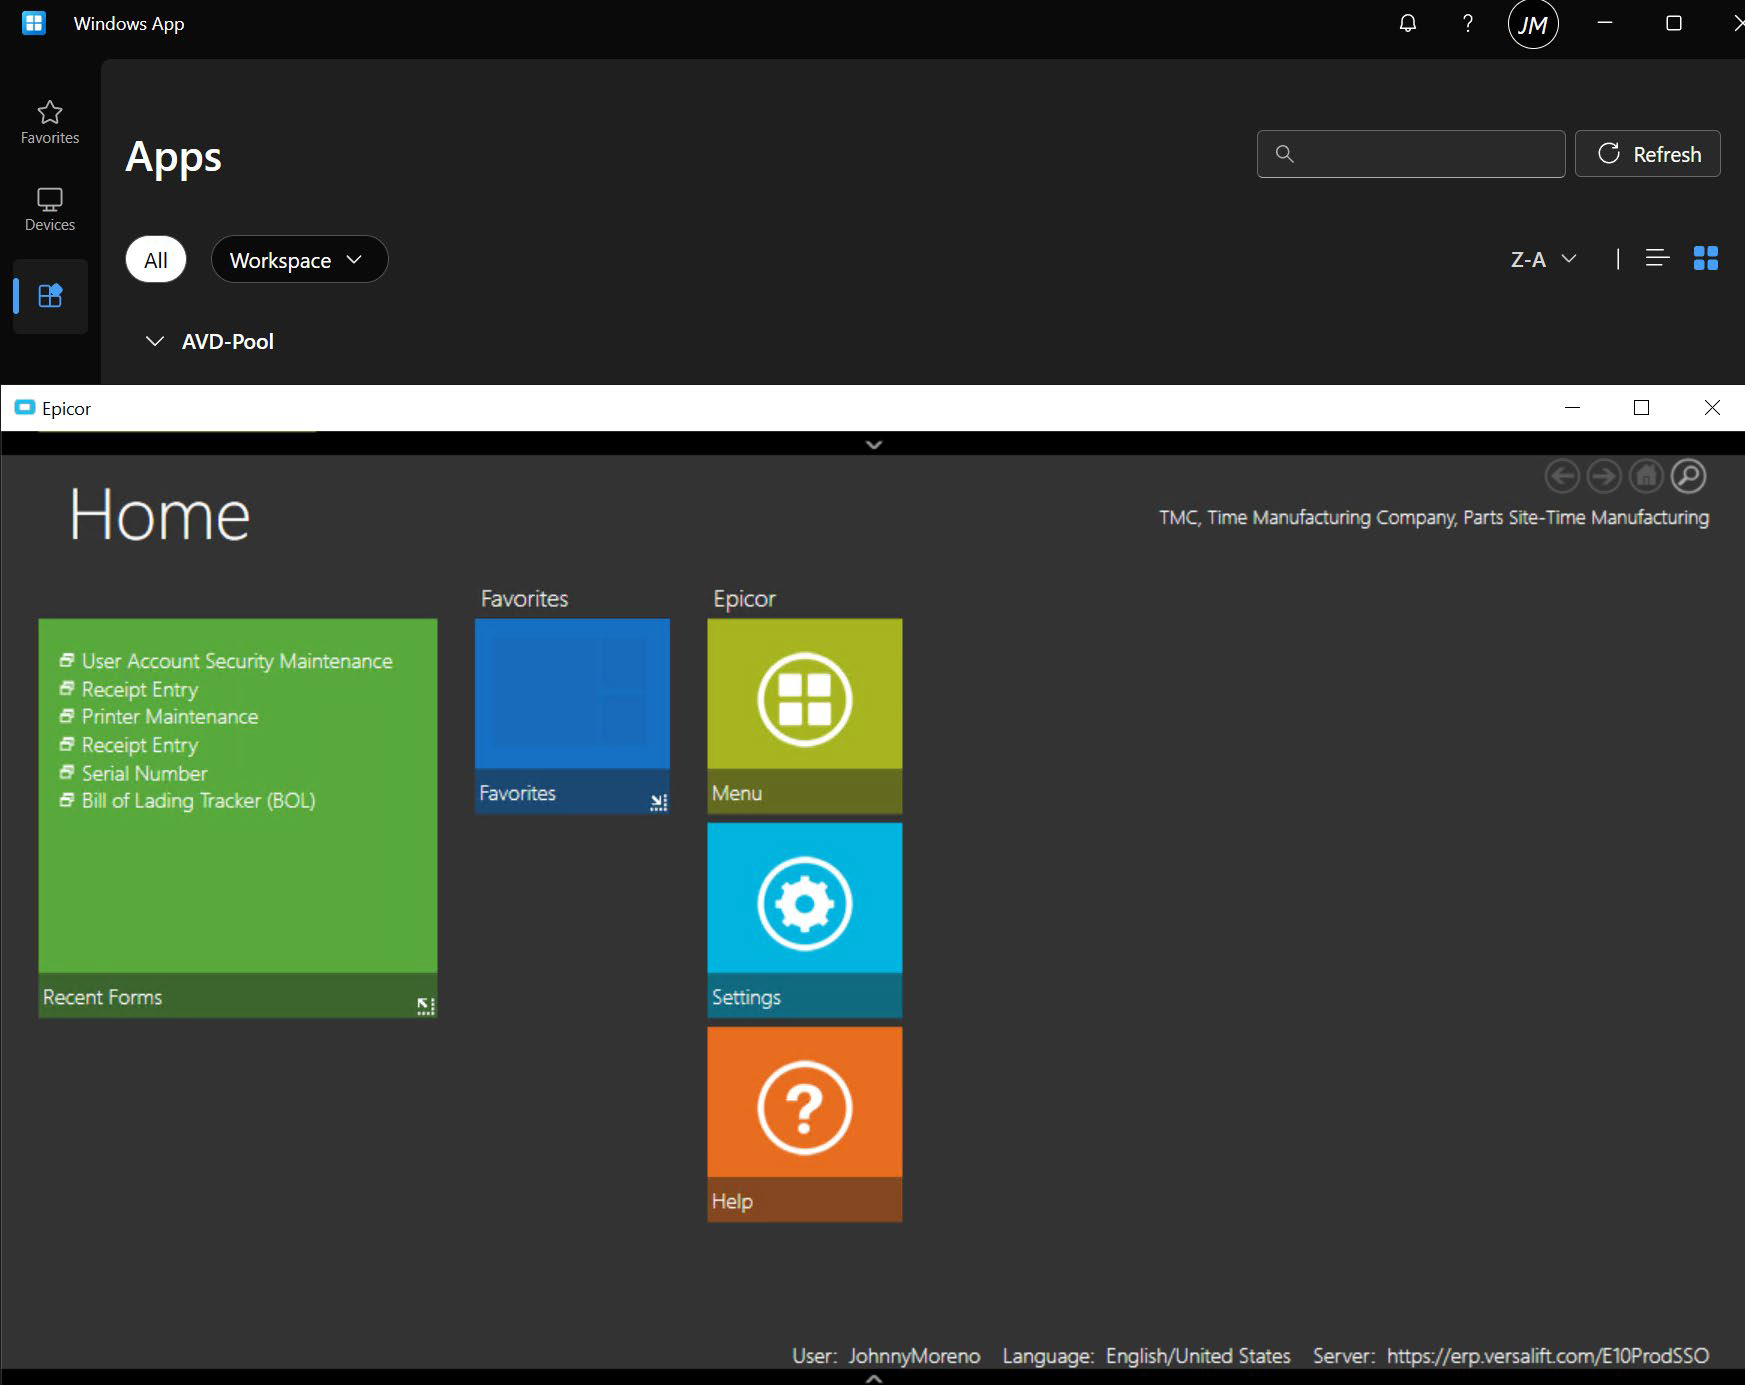
4. Once it is confirmed that the correct account is signed in you can then navigate the virtual applications in which access was provided. Navigate to the left pane > Select Apps Icon (Below the Devices Icon) > Select and open the application required.
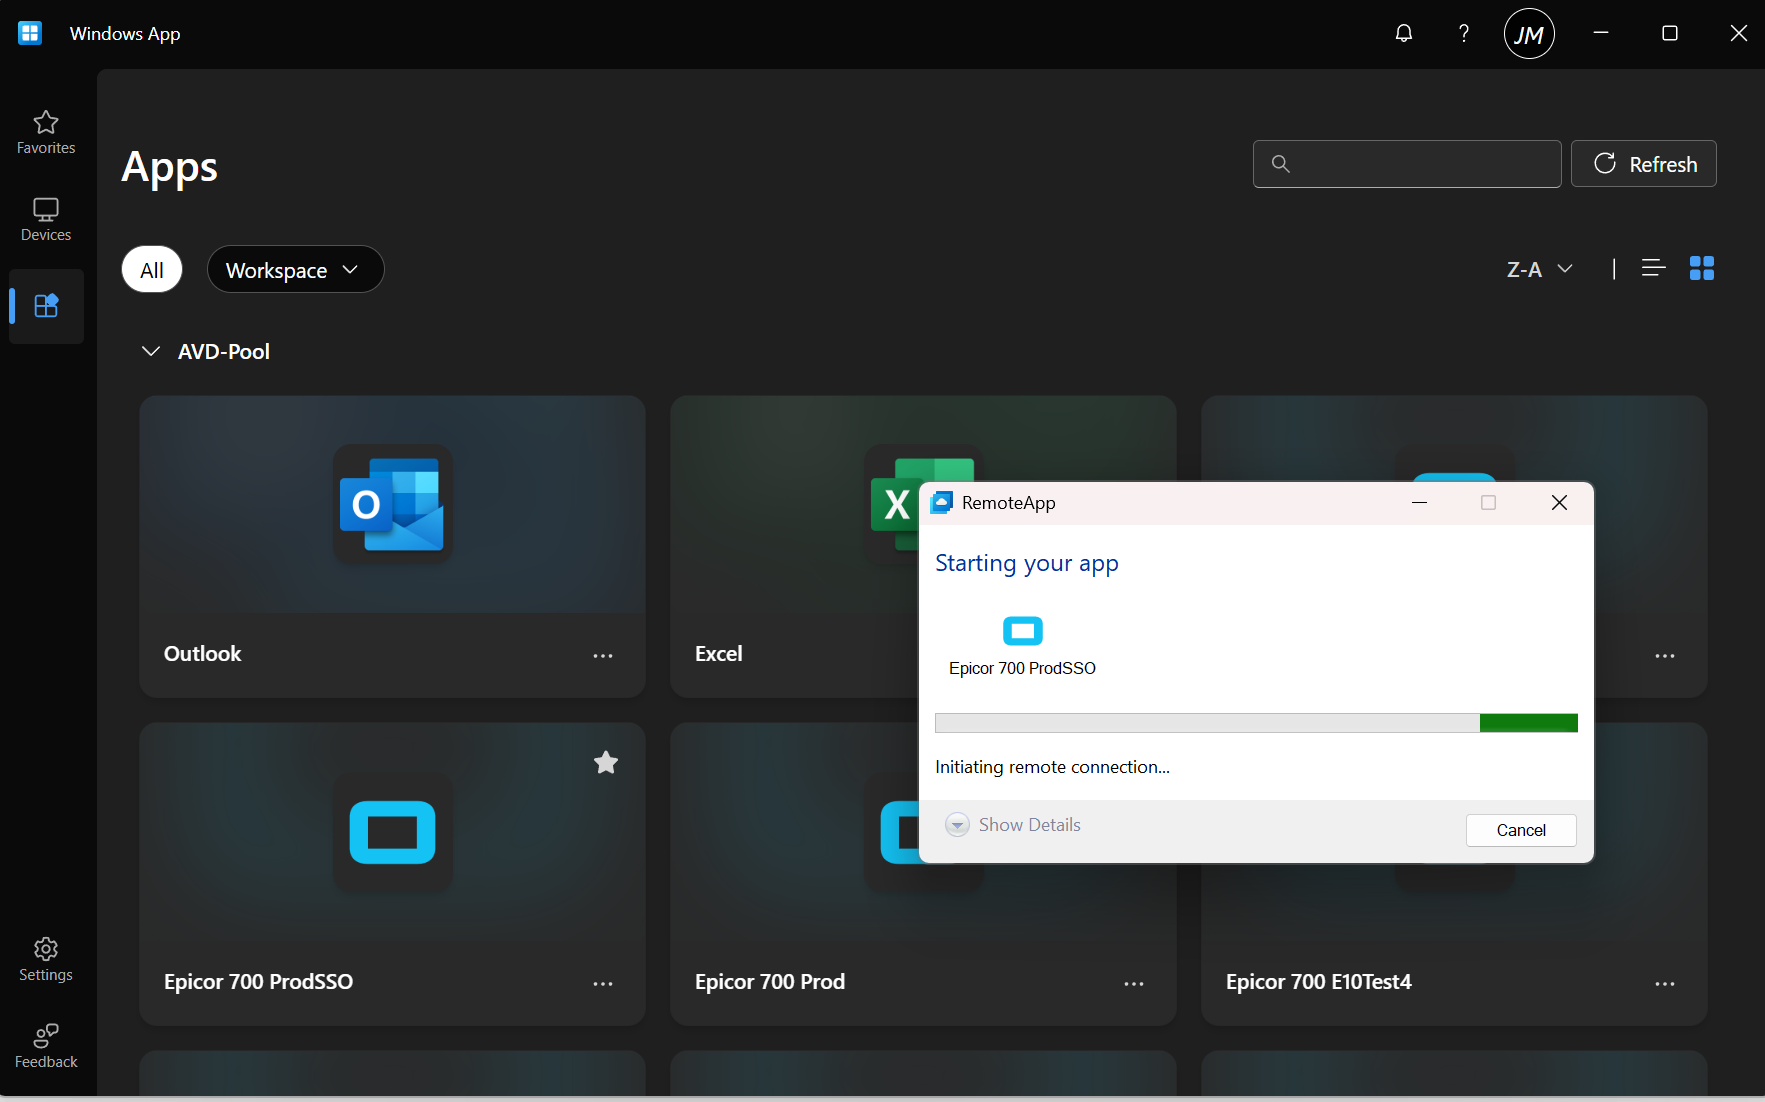
5. You will now notice a separate window instance opened with the selected application service running.